Feel the Difference. See the Quality. Trust the Experts — Because You Deserve the Best!
Best Roofing Company in Greensboro, NC
At Escalade Roofing, we deliver top-rated residential and commercial roofing services backed by expert craftsmanship and a reputation built on trust. As a family-owned roofing company, we’ve earned a 5-star rating on Google by consistently providing durable, high-quality roofing solutions that stand the test of time. Explore our roofing project gallery to see why homeowners and businesses choose Escalade Roofing for everything from roof replacements to storm damage repairs. Every shingle we install reflects our commitment to excellence, safety, and customer satisfaction.
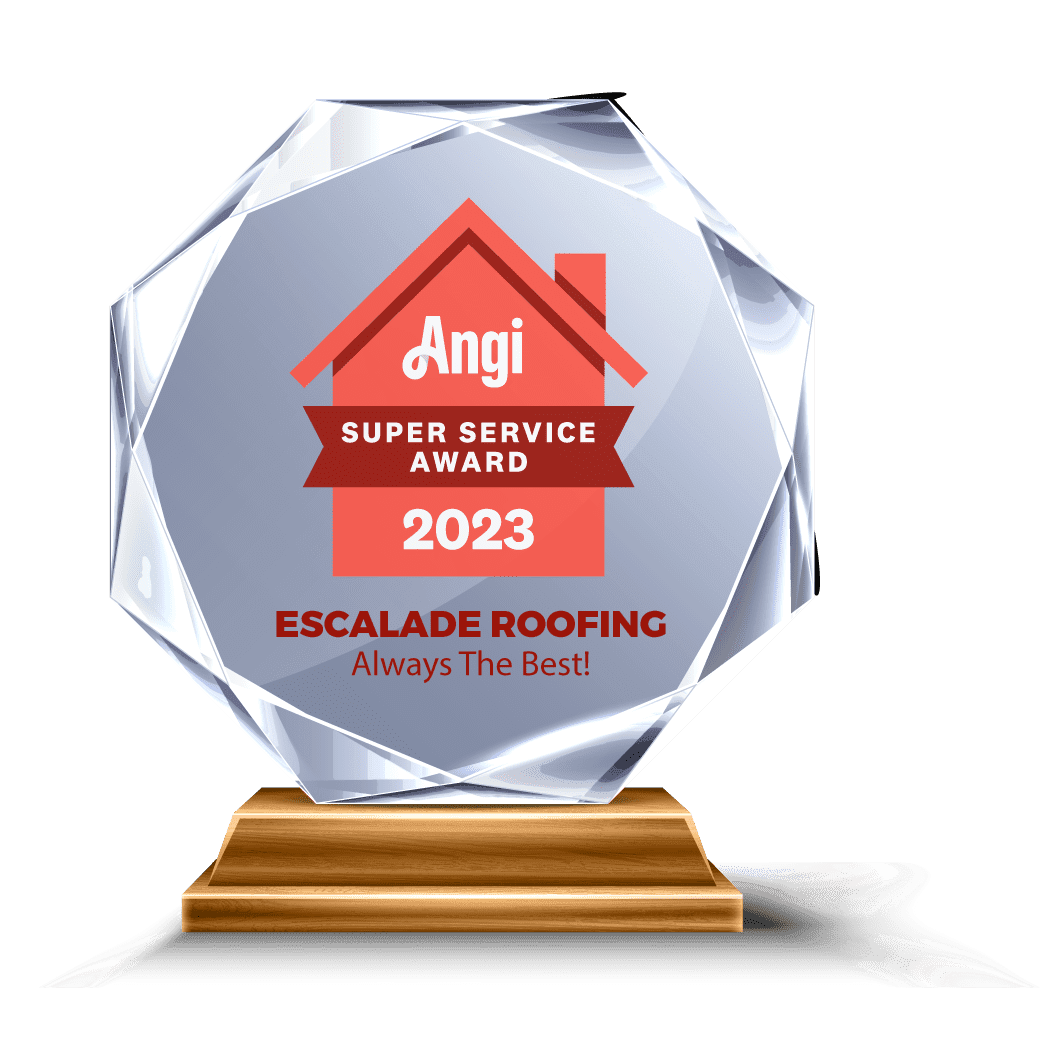

Winners of the 2023 Angi Super Service Award, reflecting our commitment to customer satisfaction.

Escalade Roofing — Always the Best in Roofing Solutions
1,021+
SATISFIED CUSTOMERS
878+
PROJECTS FINISHED
20+
CITIES COVERED
30+
YEARS OF EXPERIENCE
Residential Roofing
At Escalade Roofing, we treat every home like it’s our own. With years of experience and a commitment to the highest craftsmanship, we deliver durable, beautiful roofs built to protect your family. Our team is here to guide you every step of the way—because quality service starts with people who care.
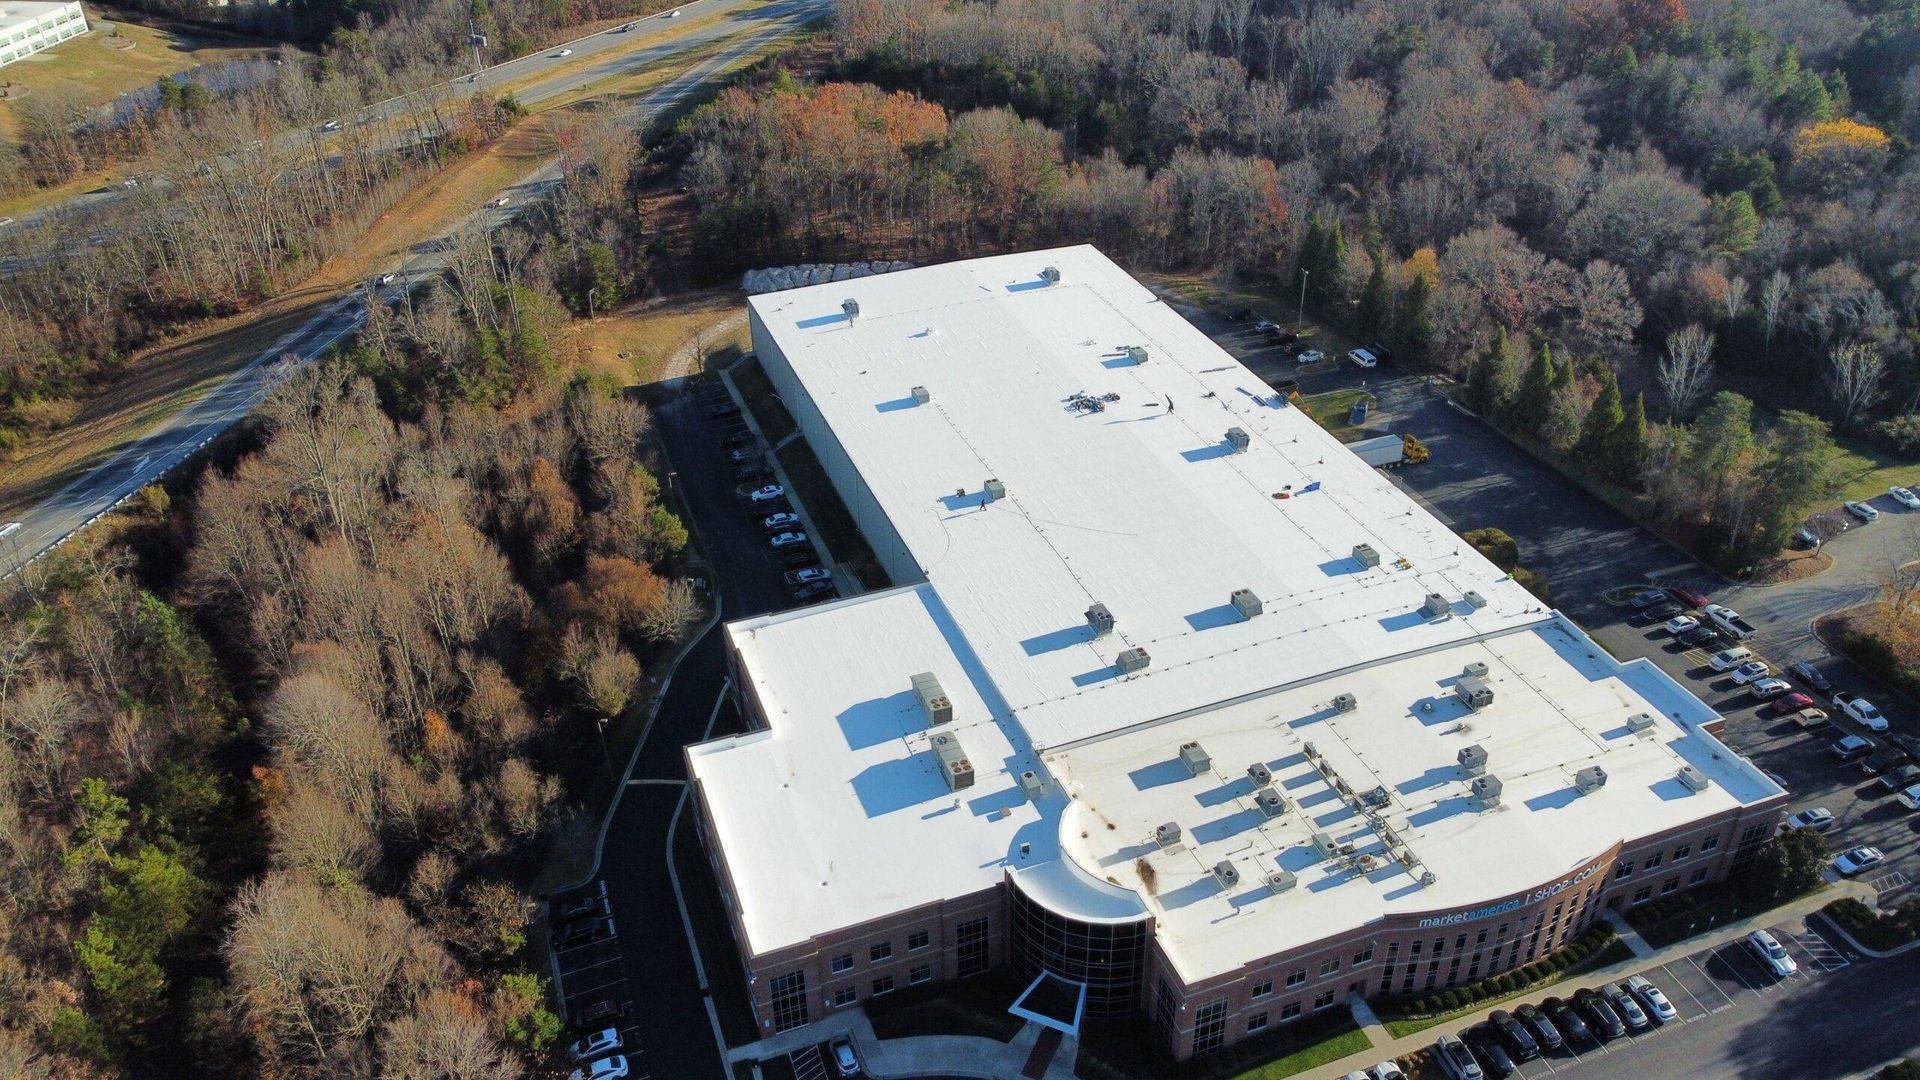
Commercial Roofing
Your business needs more than just a roof—it needs a partner you can trust. We bring expert-level craftsmanship, efficient project management, and unmatched attention to detail to every commercial roofing project. With Escalade Roofing, you get roofing solutions that perform and service that exceeds expectations.
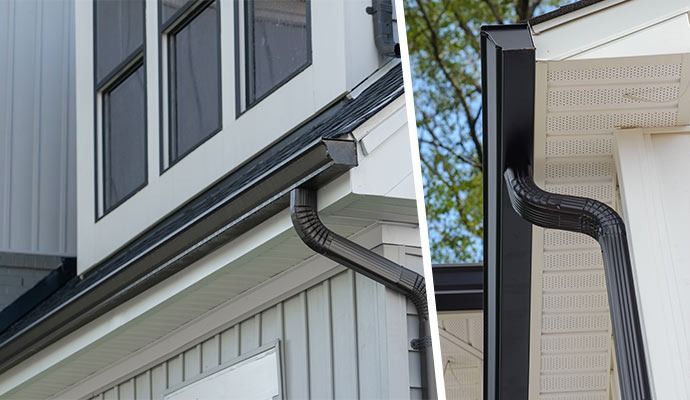
Gutter Services
Properly working gutters are essential to protecting your property. We provide high-quality gutter installation, repair, and maintenance with the same dedication to excellence you’ll find in all of our work. Count on Escalade Roofing for clean lines, flawless finishes, and dependable results.


Why Choose Escalade Roofing
Every project begins with a comprehensive roof inspection and an honest evaluation of your roof’s condition. Our experienced team takes the time to understand your specific needs, address any concerns, and provide clear, straightforward recommendations—no high-pressure sales tactics, just real, reliable roofing solutions. Whether you’re dealing with damage or planning preventative maintenance, you can count on us for expert guidance and transparent service.
Quality & Experience
At Escalade Roofing, we specialize in professional roof repair services designed to keep your home safe, secure, and protected year-round. With years of hands-on experience and a team of highly trained roofing experts, we deliver precise, high-quality repairs using only the best roofing materials and proven techniques. Whether you're dealing with leaks, storm damage, missing shingles, or general wear and tear, you can count on us for reliable, long-lasting roof repair solutions. Trust Escalade Roofing—your local roofing company committed to excellence and customer satisfaction.
Certificate Company
We provide expert roof repair services tailored to protect your home from leaks, storm damage, and everyday wear and tear. As a trusted and experienced roofing contractor, our skilled team uses top-quality materials and industry-leading techniques to ensure every repair is durable and long-lasting. Whether you need to fix missing shingles, flashing issues, or roof leaks, we deliver dependable solutions with precision and care. Choose Escalade Roofing for professional roof repairs backed by years of experience, a commitment to excellence, and outstanding customer satisfaction.
Our Certifications
At Escalade Roofing, we are proud to be recognized and certified by the most respected names in the roofing industry. Our certifications reflect our commitment to delivering high-quality roofing installation, unmatched professionalism, and long-lasting protection for your home. When you choose us, you're working with a trusted roofing company backed by the industry's best:
- Atlas Certified Contractor – Offering premium roofing products and exclusive extended warranties.
- Owens Corning Preferred Contractor – Known for superior craftsmanship, reliability, and professional service.
- GAF Certified Roofing Contractor – Trained and approved by North America’s #1 roofing manufacturer.
- Directorii Certified Contractor – Your project is backed by a $20,000 guarantee for added peace of mind.
Trust Escalade Roofing for certified expertise, durable materials, and expert workmanship that stands the test of time.
Escalade Roofing Has An Unlimited General Contractor License -- The Highest License In Construction!

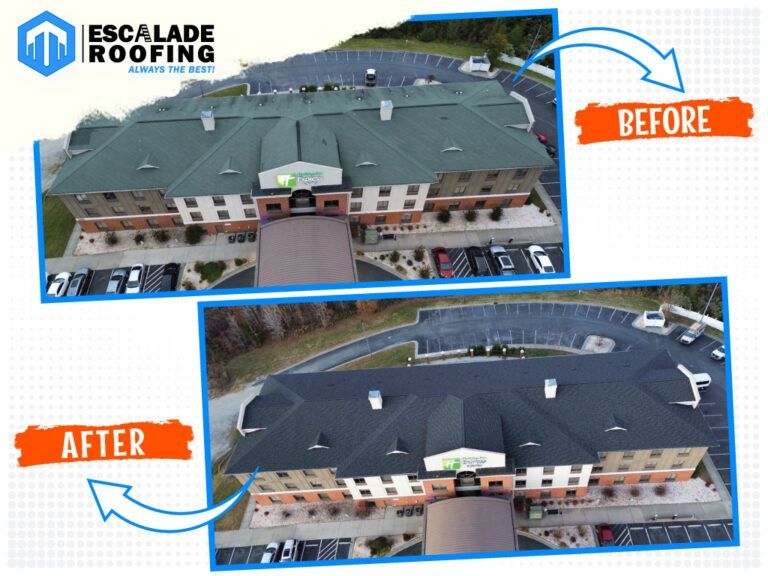
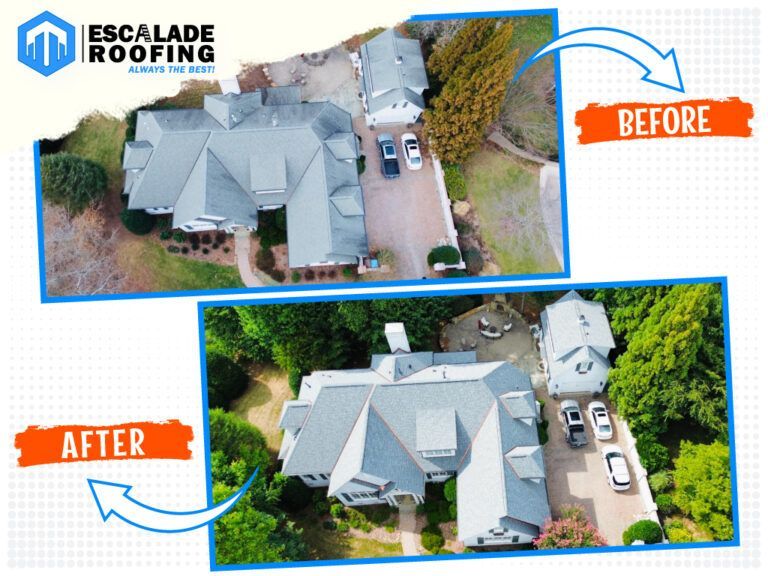
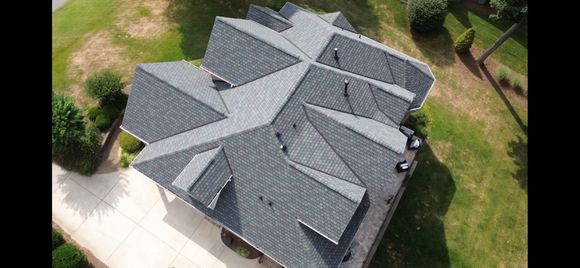
Trusted Roofing Experts | Explore Our Top Roofing Projects
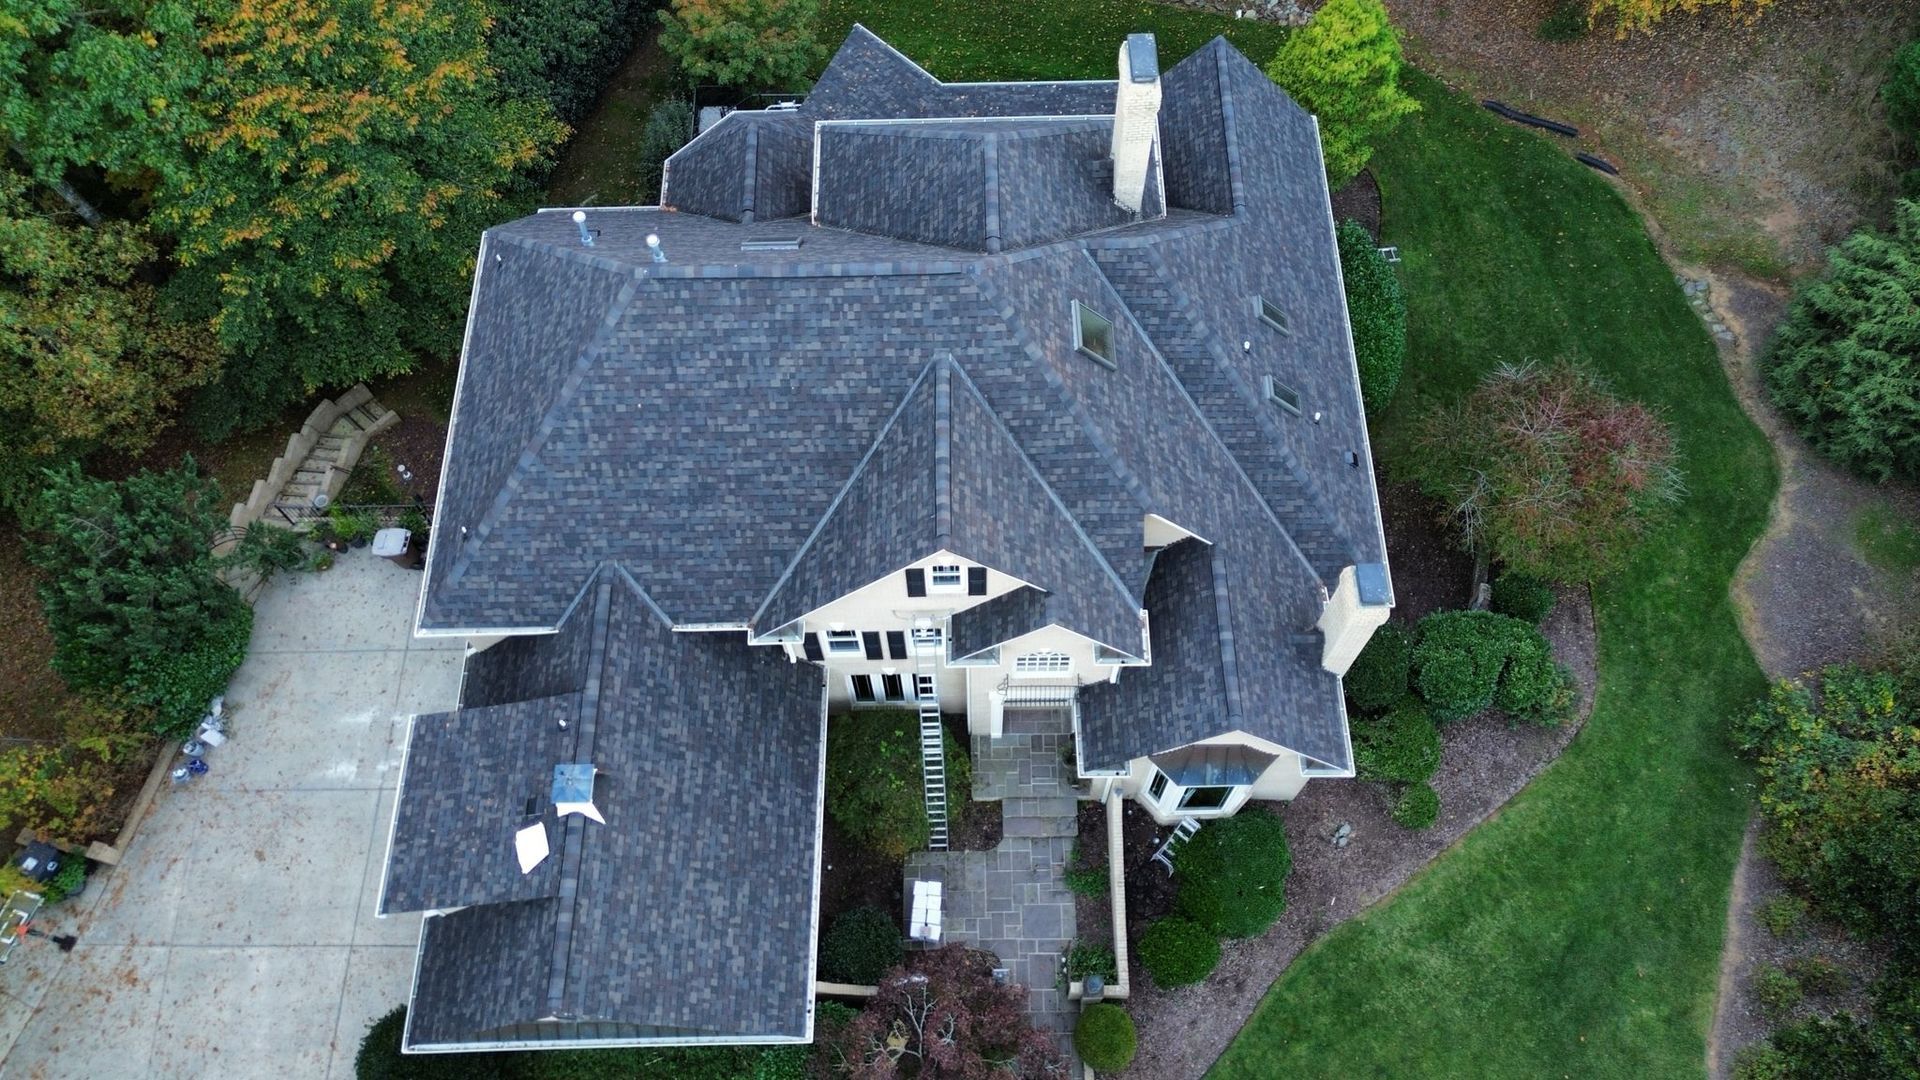
At Escalade Roofing, we take pride in being a family-owned roofing company known for trust, quality workmanship, and long-lasting results. With hundreds of satisfied homeowners and a 5-star Google rating, we’ve become a trusted name in the roofing industry. Our project gallery showcases some of our best roofing installations—each roof is a reflection of the craftsmanship, precision, and care that sets us apart. Whether you need residential roof replacement, repair, or new installation, see why Escalade Roofing is the go-to choice for exceptional roofing services.
We Keep It Simple – 3 Steps to a Roof You’ll Love!
Initial Consultation & Assessment
We start by thoroughly inspecting your roof to identify any issues. Our team listens to your concerns and gathers all the necessary information to provide an accurate assessment and customized repair plan.
Expert Planning & Preparation
Once you’re ready, we get to work on a detailed plan. From selecting materials to scheduling your project, our team prepares every detail to ensure a smooth, timely process that fits your budget and vision.
Professional Execution & Completion
Our experienced crews deliver top-tier craftsmanship with safety, cleanliness, and respect for your property. We’re not done until every shingle is perfect and you’re completely satisfied—because your roof deserves the best.
No stress, no charge, just a free roof inspection from experts who care. Call us today!
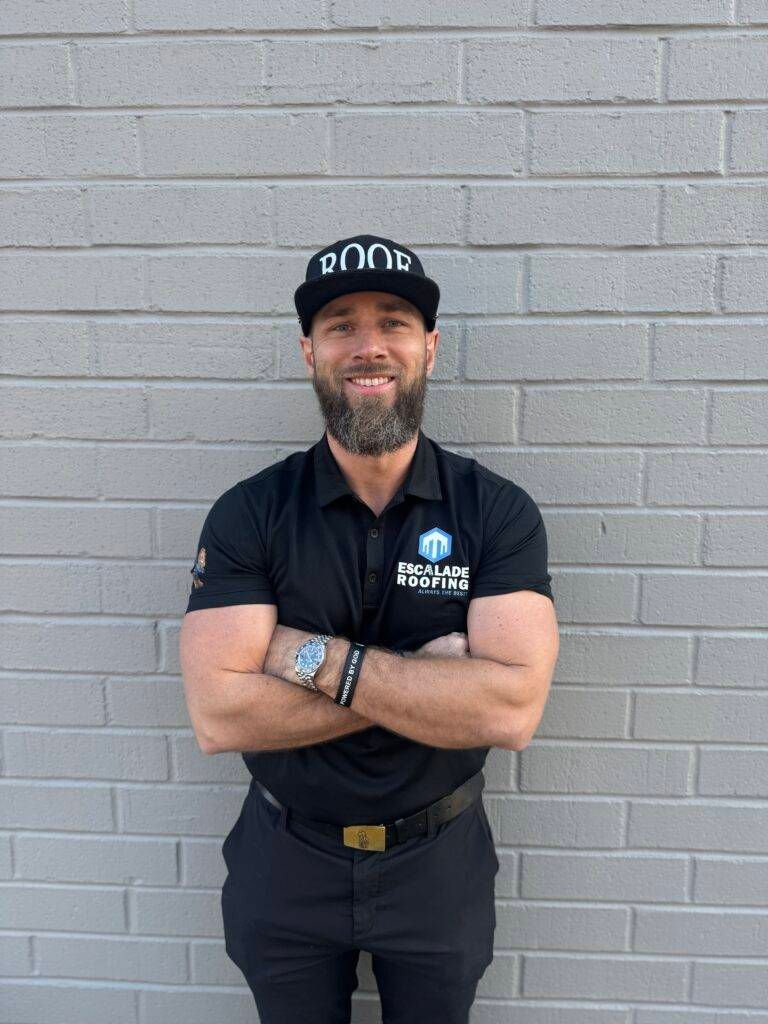
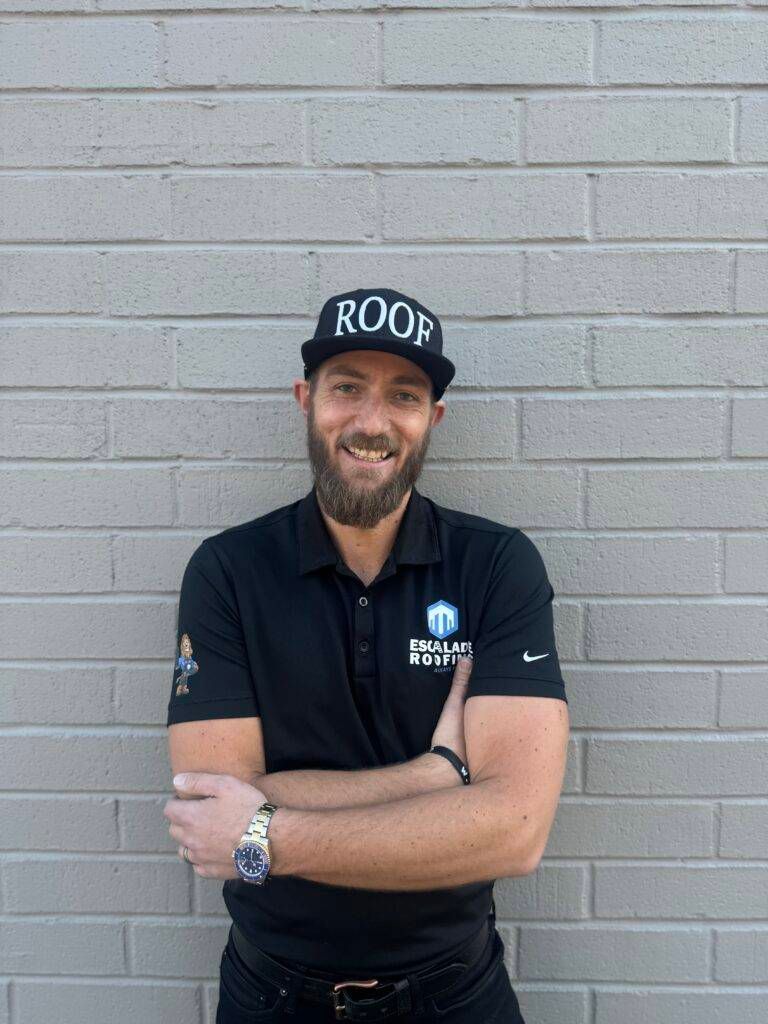
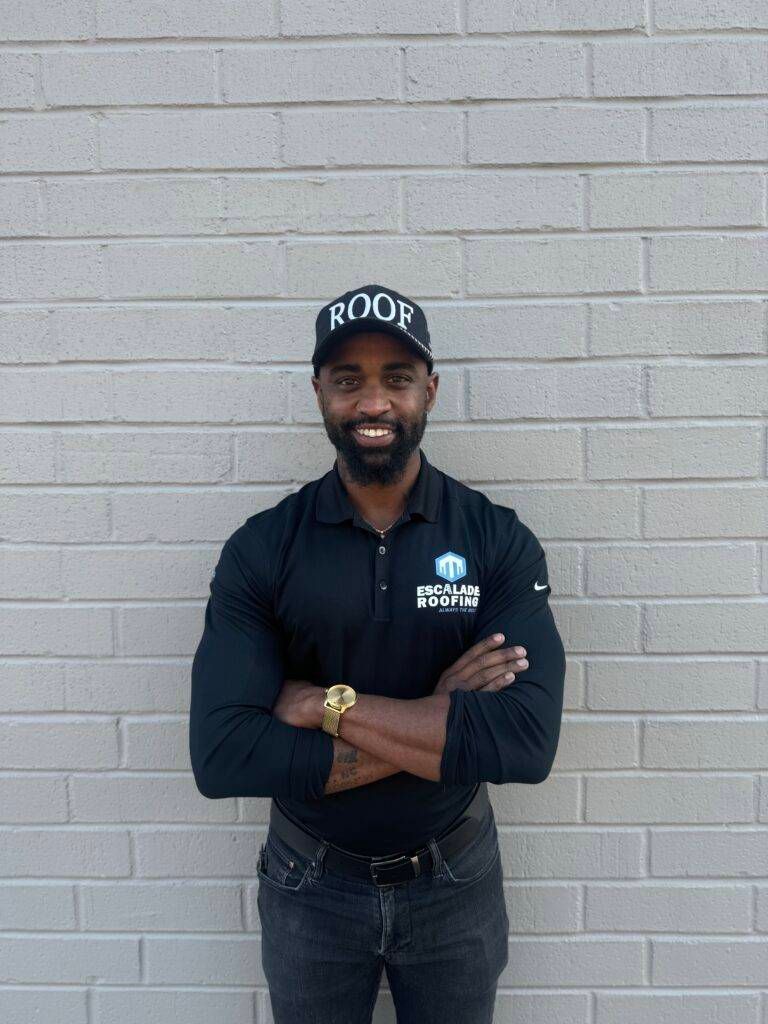
Meet Our Team – Skilled, Trusted, and Ready to Serve
Cole Haynes
President
Derek Land
Sales Manager
Pierre Davis
Project Manager/ CIO
Rob Spencer
Project Manager/ Team Lead
Abigail Tumbleston
Project Manager
Cole Haynes
President
Derek Land
Sales Manager

Explore Our Latest Projects – Quality in Every Detail